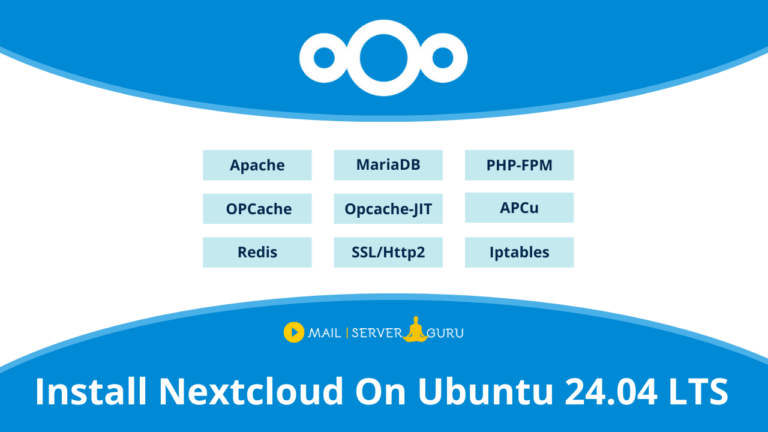
In this guide, we are going to explain how to install nextcloud on ubuntu 24.04 LTS.
Nextcloud is an open-source file hosting app that allow users to store and manage their documents, pictures and videos to their personal server or trusted data centers. Users has full control over their data and can provide any security measures they need.
Nextcloud is a private alternative solution to Dropbox and Google Drive, it has integrated office suite like Collabora Online or OnlyOffice, and application like email, contacts, calendar, chat, map, drawing board and many other 3rd party application with API support.
In this blog post, we will describe in few obvious steps how to install nextcloud on ubuntu 24.04. later on we can integrate other applications from the nextcloud dashboard.
Step1: Update and Upgrade the System
Before nextcloud installation we better update all the system packages and upgrade the system to the latest. to update and upgrade with a single shot, please execute the following command.
apt update -y && apt upgrade -yStep2: Install Apache and MySQL Server
Nextcloud is an web app with a database back-end, so we need a web server and a database server for the installation, we are installing apache as webserver and MariaDB as the database server.
Apache Server Installation:
apt install apache2Start and Enable the Apache Service:
systemctl start apache2
systemctl enable apache2
See the current status of Apache server with the below command, Apache server must be running.
systemctl status apache2root@nc:~# systemctl status apache2
● apache2.service - The Apache HTTP Server
Loaded: loaded (/usr/lib/systemd/system/apache2.service; enabled;
preset: enabled)
Active: active (running) since Sat 2024-05-25 02:42:34 UTC; 1h 36min ago
Docs: https://httpd.apache.org/docs/2.4/
Process: 21813 ExecStart=/usr/sbin/apachectl start (code=exited,
status=0/SUCCESS)
Main PID: 21817 (apache2)
Tasks: 11 (limit: 4556)
Memory: 871.4M (peak: 993.6M)
CPU: 1min 2.942s
CGroup: /system.slice/apache2.service
├─21817 /usr/sbin/apache2 -k start
├─21821 /usr/sbin/apache2 -k start
├─21823 /usr/sbin/apache2 -k startThe above command output confirms the Apache in Running state.
MariaDB Server Installation:
apt install mariadb-serverStart and Enable MariaDB Service
systemctl start mariadb
systemctl enable mariadb
Check the current status of MariaDB server with the below command, MariaDB service must be running.
systemctl status mariadbroot@nc:~# systemctl status mariadb
● mariadb.service - MariaDB 10.11.7 database server
Loaded: loaded (/usr/lib/systemd/system/mariadb.service; enabled;
preset: enabled)
Active: active (running) since Sat 2024-05-25 02:31:18 UTC; 2h 33min ago
Docs: man:mariadbd(8)
https://mariadb.com/kb/en/library/systemd/
Main PID: 8820 (mariadbd)
Status: "Taking your SQL requests now..."
Tasks: 17 (limit: 30074)
Memory: 124.6M (peak: 125.6M)
CPU: 10.370s
CGroup: /system.slice/mariadb.service
└─8820 /usr/sbin/mariadbdThe above command output confirms the MariaDB in Running state.

Step3: Install PHP and Supportive Modules
Nextcloud written in PHP and JavaScript, so we needed to install PHP and all the required module for its functionalities to work properly.
Install PHP and required Modules:
apt install php php-common libapache2-mod-php php-bz2 php-gd php-mysql \
php-curl php-mbstring php-imagick php-zip php-common php-curl php-xml \
php-json php-bcmath php-xml php-intl php-gmp zip unzip wget
Enable PHP Modules on Apache.
a2enmod env rewrite dir mime headers setenvif sslNow, Restart Apache to load all the installed PHP Modules
systemctl restart apache2Check modules are loaded on Apache.
root@nc:~# apache2ctl -M
Loaded Modules:
 core_module (static)
 so_module (static)
 watchdog_module (static)
 http_module (static)
 log_config_module (static)
 logio_module (static)
 version_module (static)
...........
Step4: Create Nextcloud database and user
In this step we will create database and database user for Nextcloud.
Login to MySQL Prompt, Just type the below command, it will open an interactive MariaDB Prompt to create user and database.
mysqlroot@nc:~# mysql
Welcome to the MariaDB monitor. Commands end with ; or \g.
Your MariaDB connection id is 1131
Server version: 10.11.7-MariaDB-2ubuntu2 Ubuntu 24.04
Copyright (c) 2000, 2018, Oracle, MariaDB Corporation Ab and others.
Type 'help;' or '\h' for help. Type '\c' to clear the current input statement.
MariaDB [(none)]>Now, Create MySQL Database and User for Nextcloud and Provide database Permission to the User. Copy all the SQL Commands and execute one by one on the the prompt.
MariaDB [(none)]> CREATE USER 'nextcloud'@'localhost' IDENTIFIED BY 'passw@rd';
MariaDB [(none)]> CREATE DATABASE IF NOT EXISTS nextcloud CHARACTER SET utf8mb4 COLLATE utf8mb4_general_ci;
MariaDB [(none)]> GRANT ALL PRIVILEGES ON nextcloud.* TO 'nextcloud'@'localhost';
MariaDB [(none)]> FLUSH PRIVILEGES;
MariaDB [(none)]> quit;
Step5: Unzip Nextcloud Archive and Configure
Now, download the latest Nextcloud archive file, Go to the Nextcloud Download Page. Or you can download from this direct link.
Download and unzip in the web root (/var/www/html) folder:
cd /var/www/htmlRemove the default index.html file from the webroot:
rm index.htmlDownload and Unzip the Nextcloud Archive:
wget https://download.nextcloud.com/server/releases/latest.zip
unzip latest.zip
Move all Nextcloud content to the web root (/var/www/html) folder:
cd /var/www/html/nextcloud
mv * /var/www/html/
Remove the Empty nextcloud Folder
rmdir /var/www/html/nextcloudChange the ownership of the Nextcloud content directory to the HTTP user.
chown -R www-data:www-data /var/www/htmlStep6: Finish Nextcloud Installation
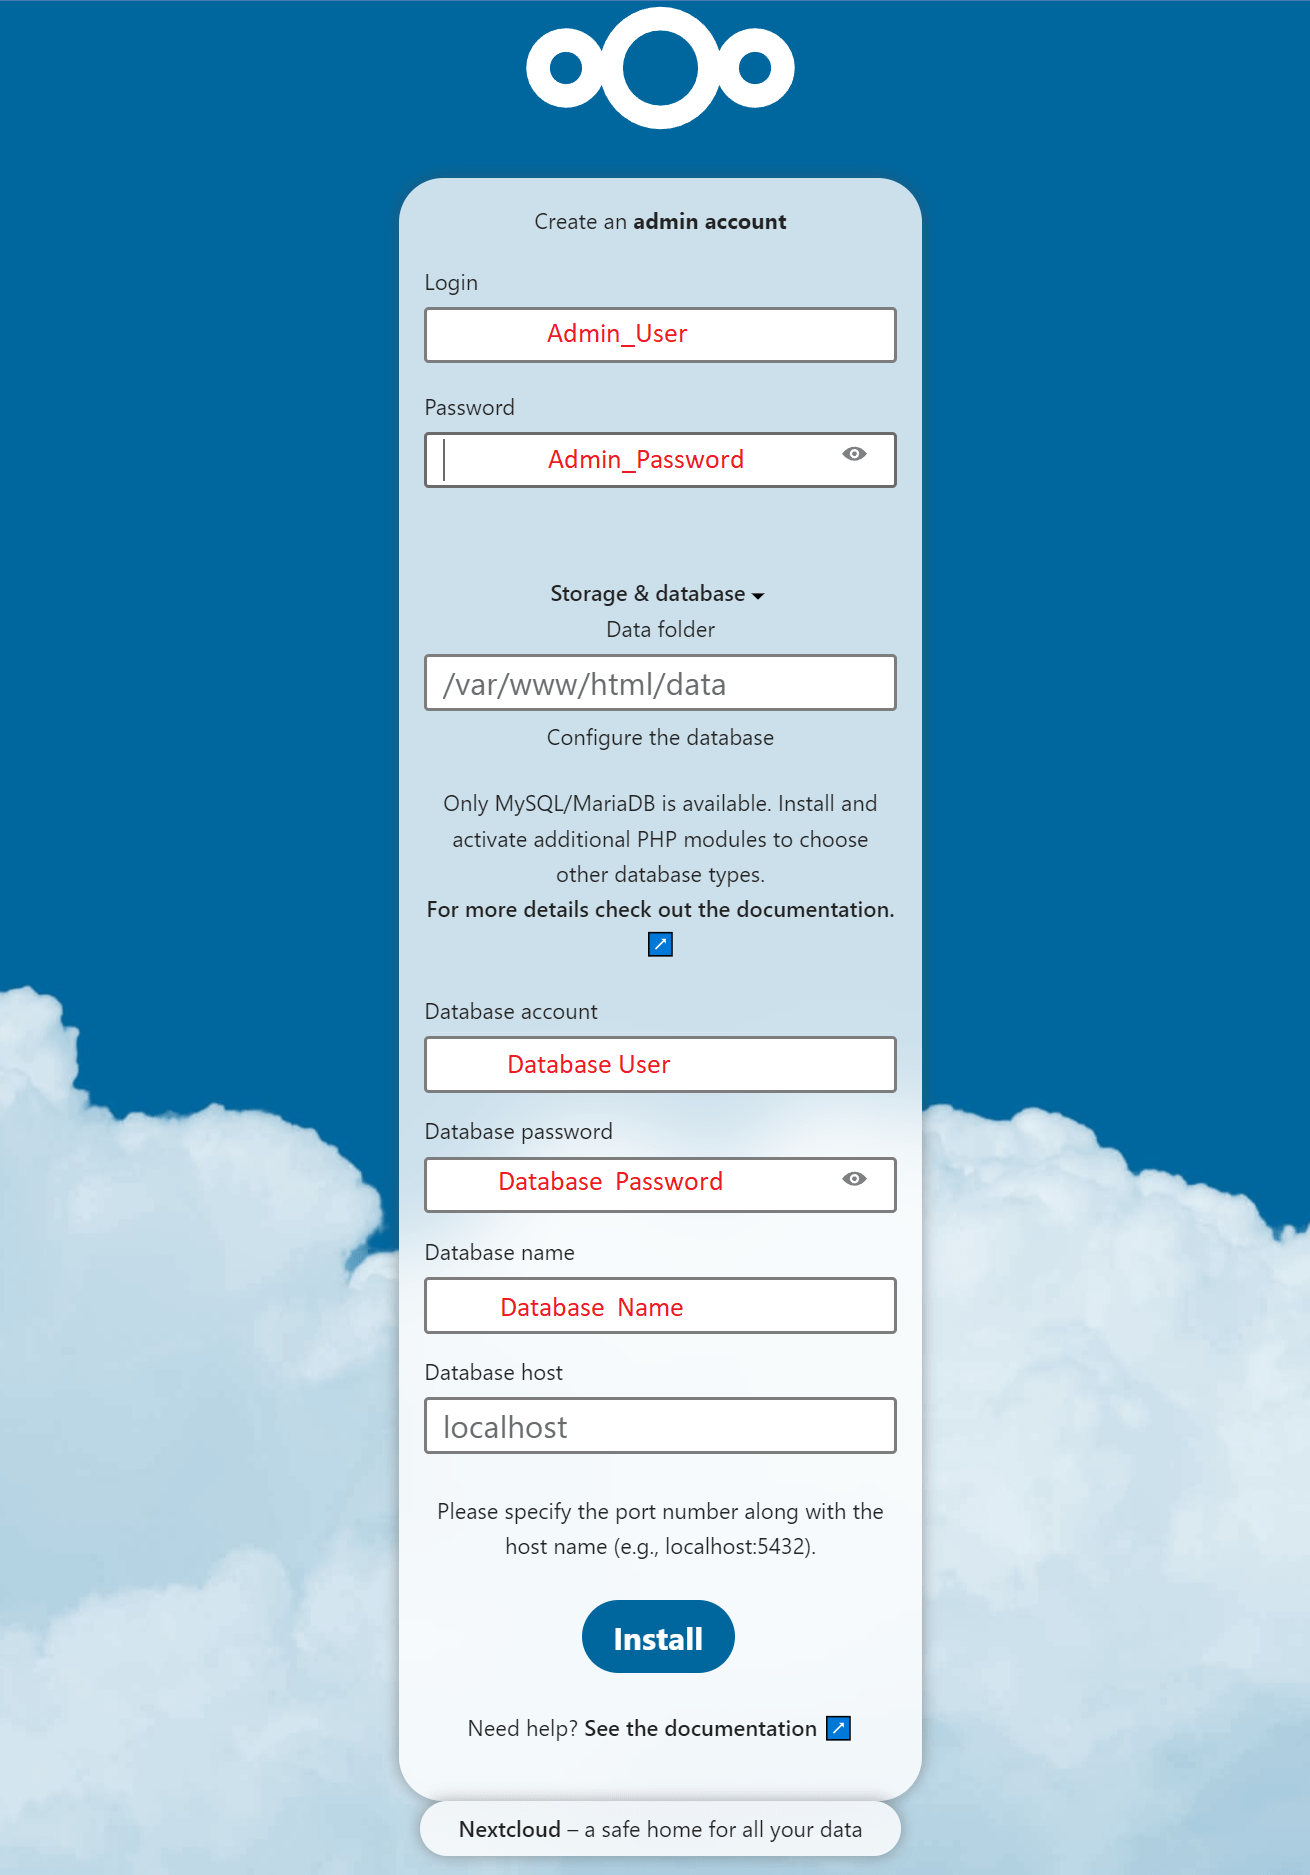
Now, Go to the Browser and type http:// [ ip or fqdn ] of the server, The below Nextcloud install page will appear.
On the page, we need to provide information for
1. Nextcloud admin Username and Password
2. Database Credentials (db name, db user and db Password)
3. After Providing all the information, “Click Install” Button
After Nextcloud Installation finishes, It will show the recommended apps page. Click on the Install recommend apps button.

it will take 1/2 minutes to install all the recommended apps, then it will show up the admin dashboard.
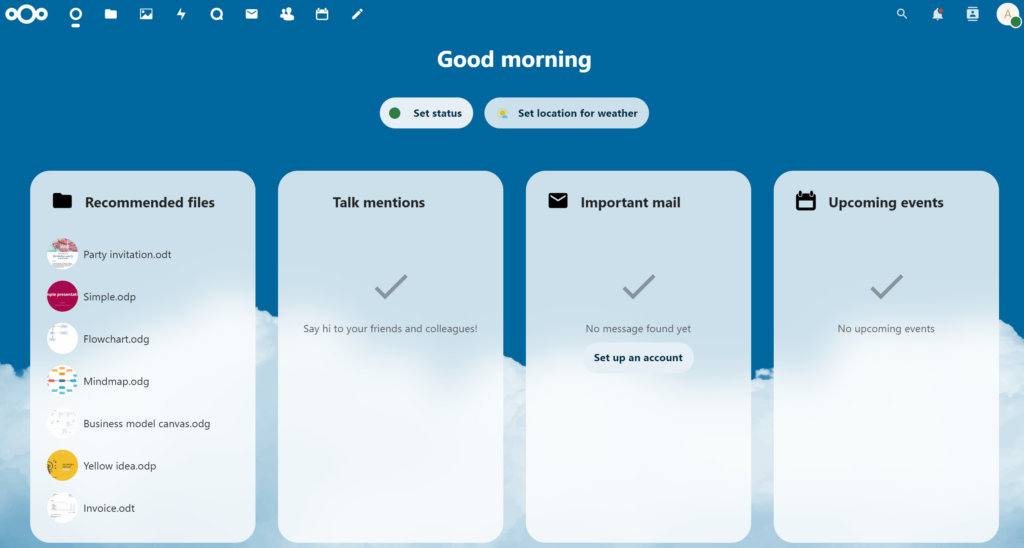
with the admin dashboard shows up, our Nextcloud Installation on Ubuntu 24.04 finishes successfully 🤗
If you want to learn more about Nextcloud, you can visit this YouTube Playlist
Now It’s Your Turn
I hope this guide will help you to Install NextCloud On Ubuntu 24.04 LTS. I have tried to show you every step in detail.
If you face any issue or have any drought on any stage, please let me know on the comment section below 👇
Thanks !! ❤️